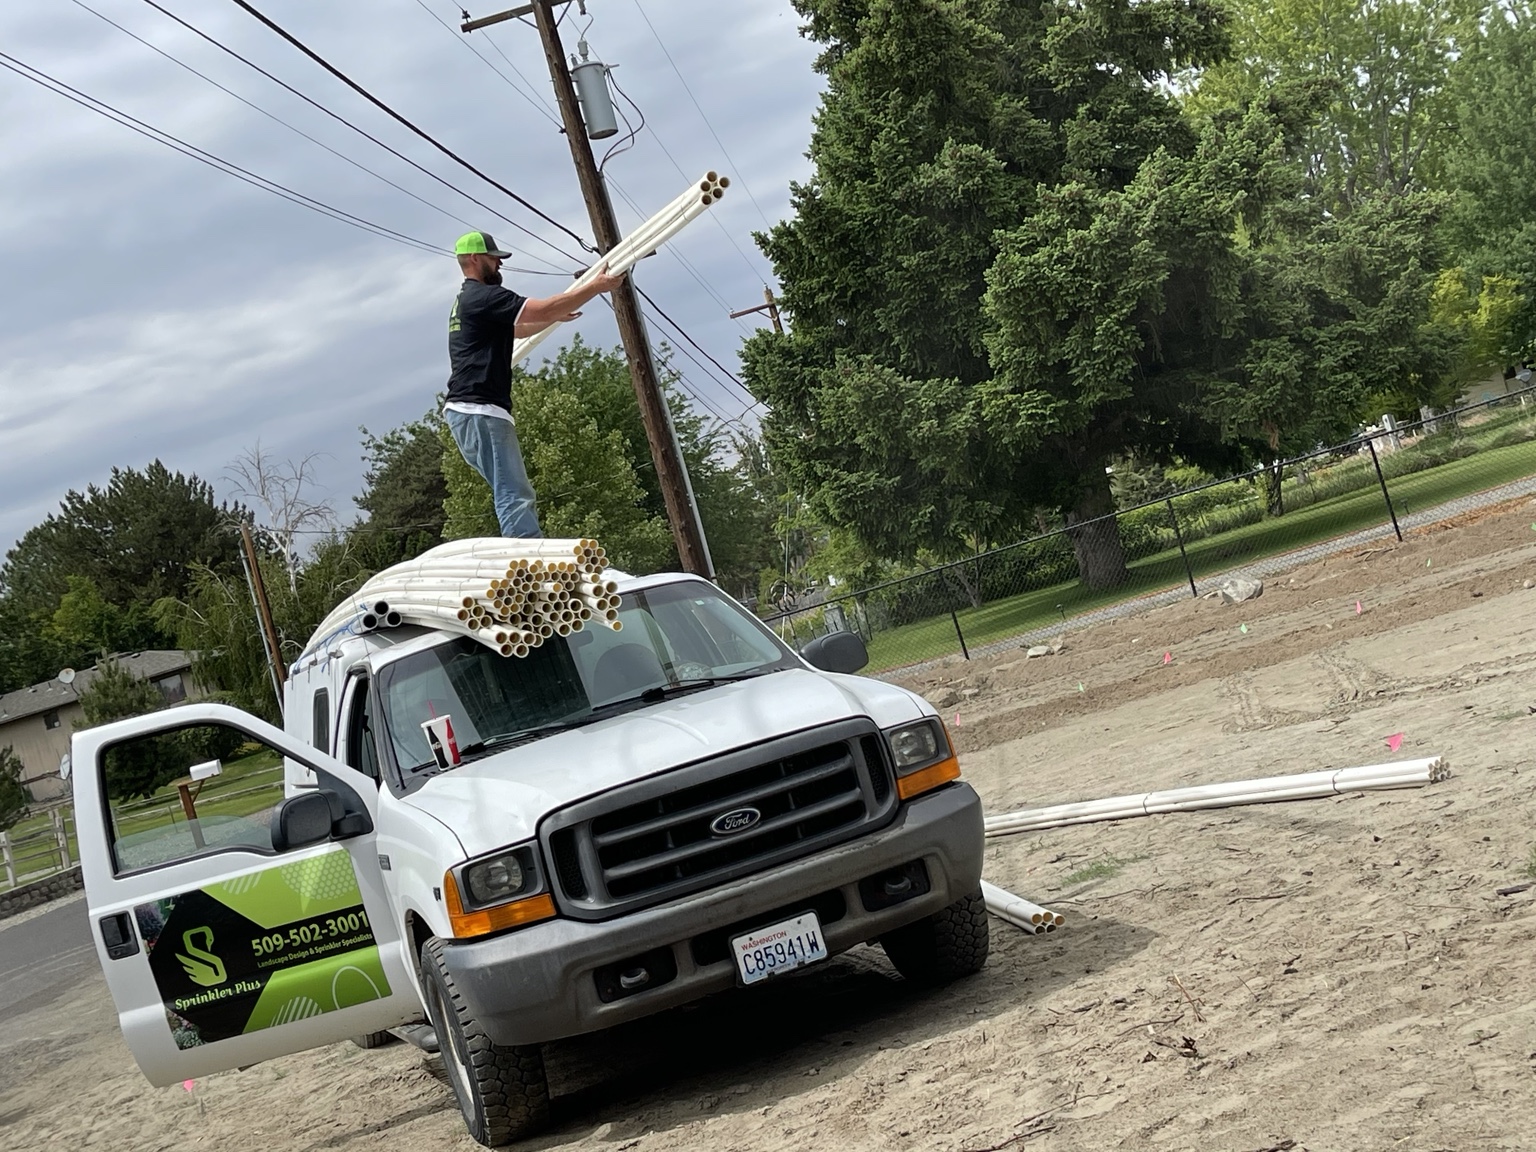
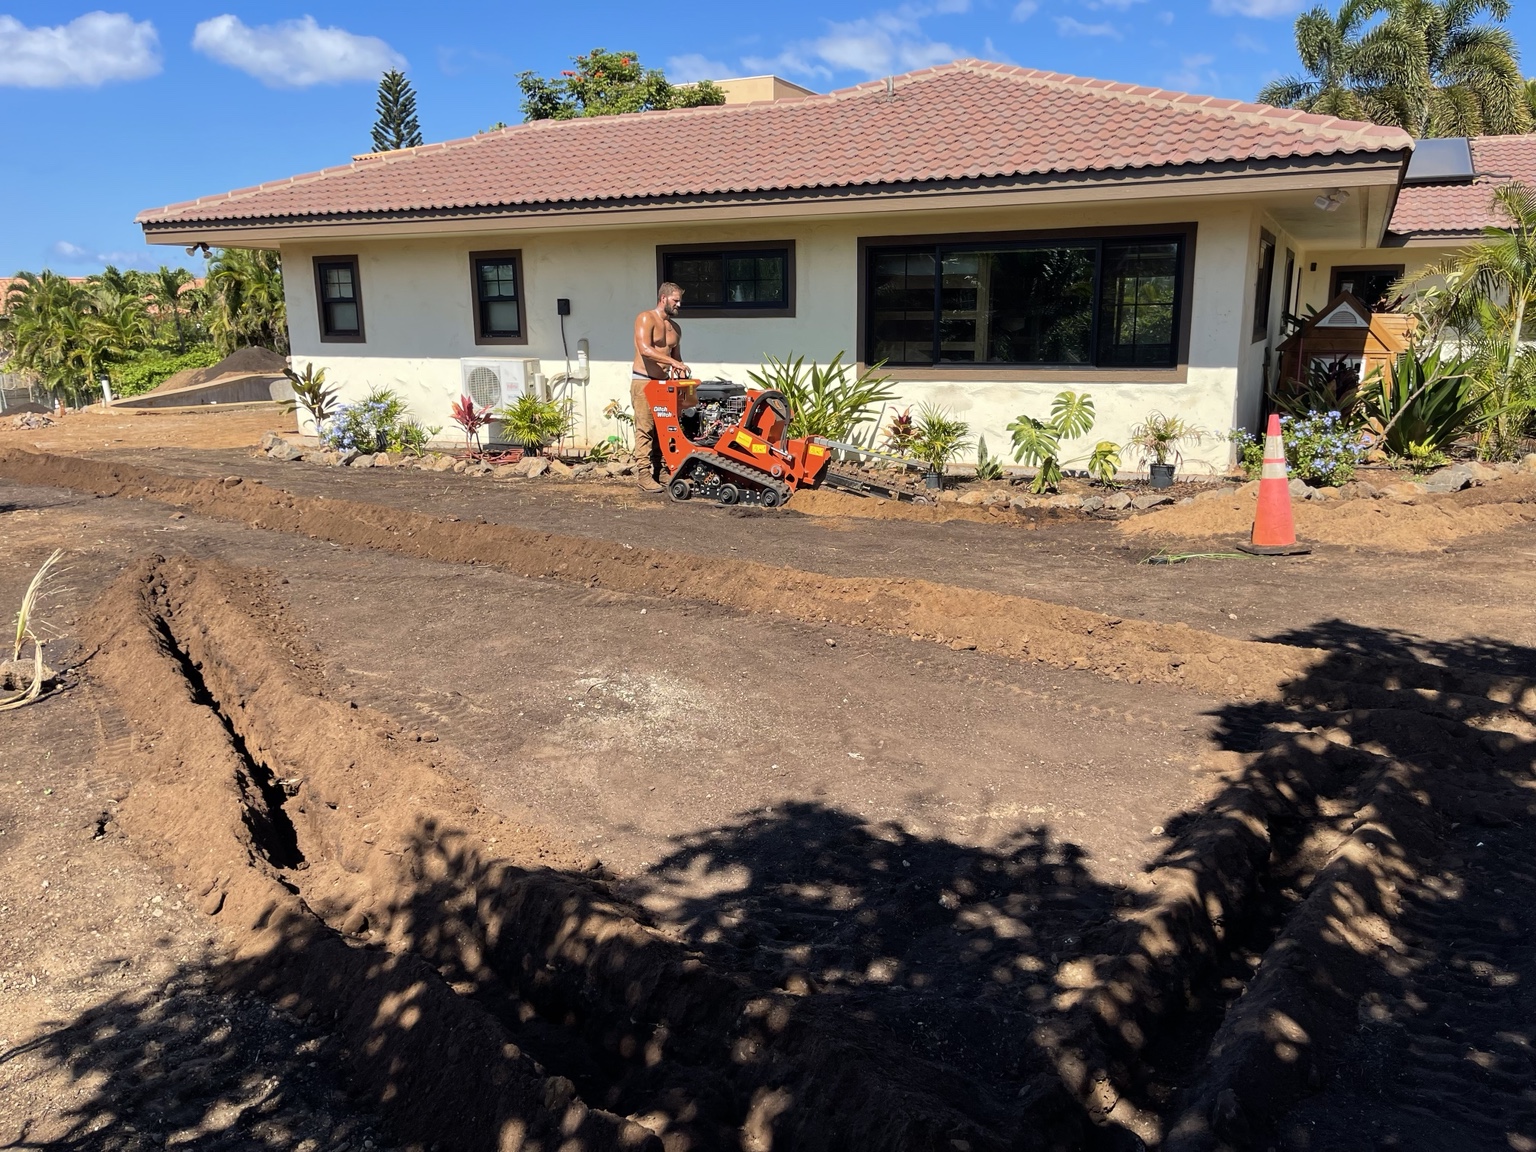
Sprinkler Plus crew trenching a new irrigation system

How We Work

Our Process

Eleven steps from the first walkthrough of your yard to the day we hand you the keys to your new system.

LAYOUT & DESIGN — Sprinkler Plus installation step 1
1

LAYOUT & DESIGN

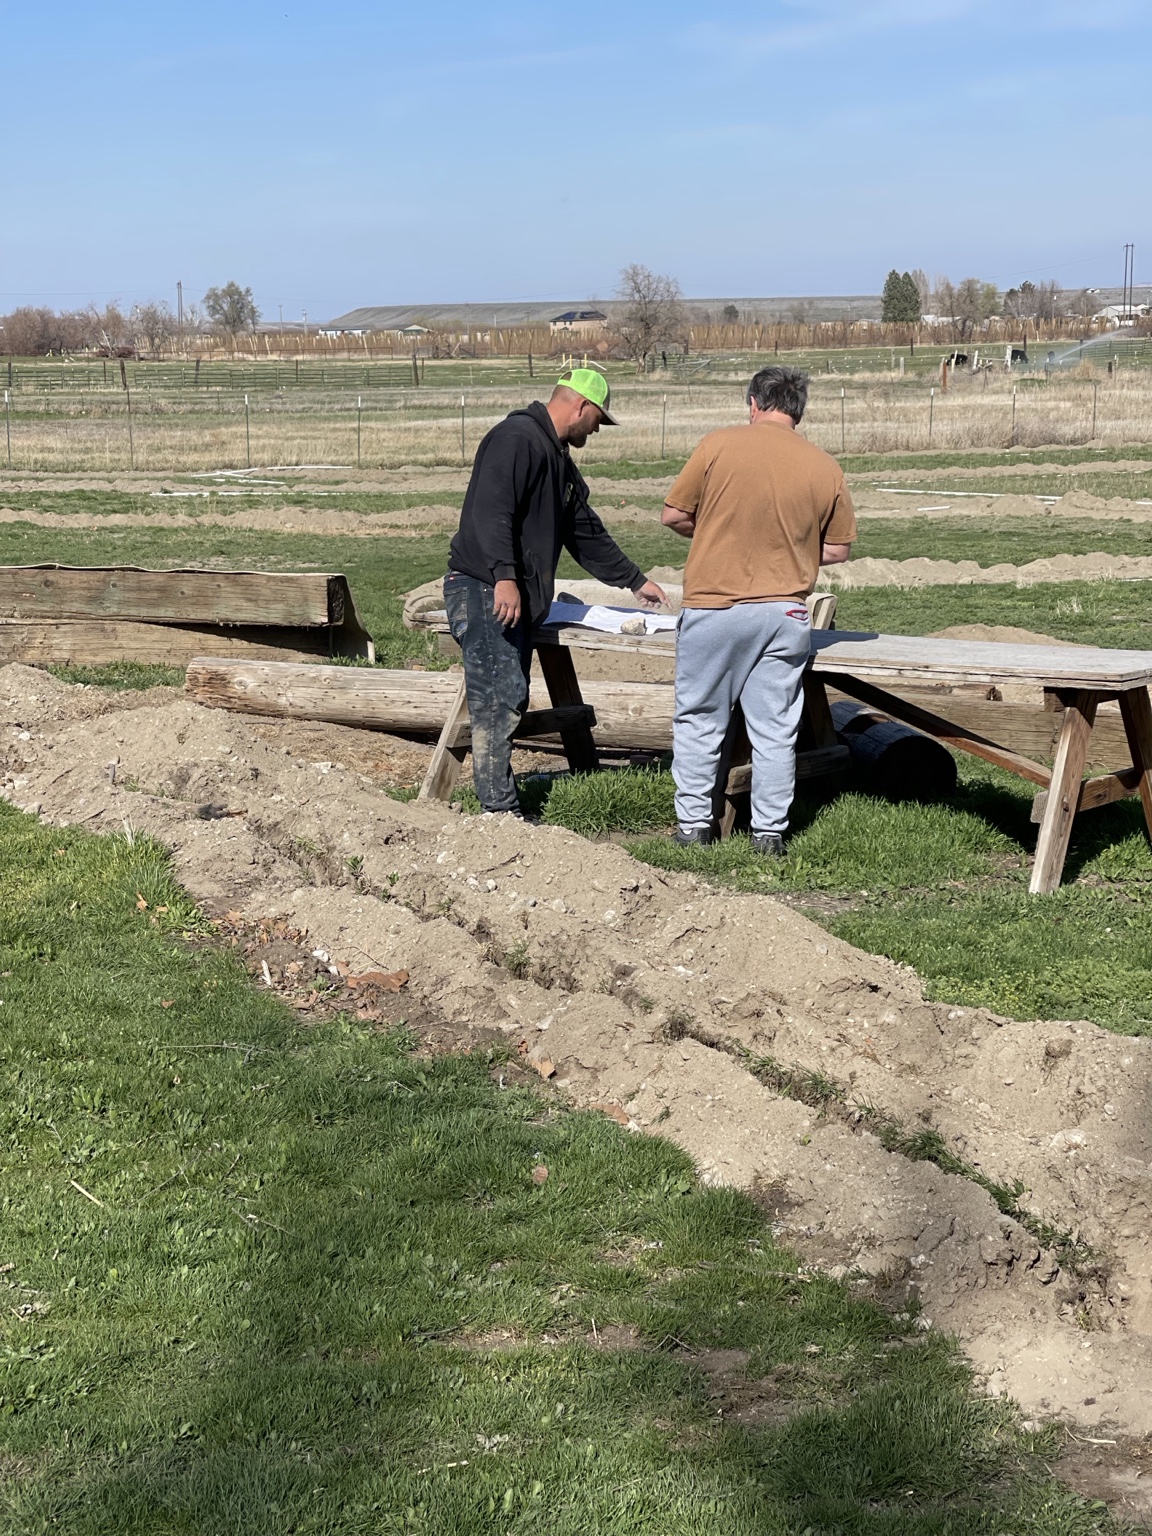
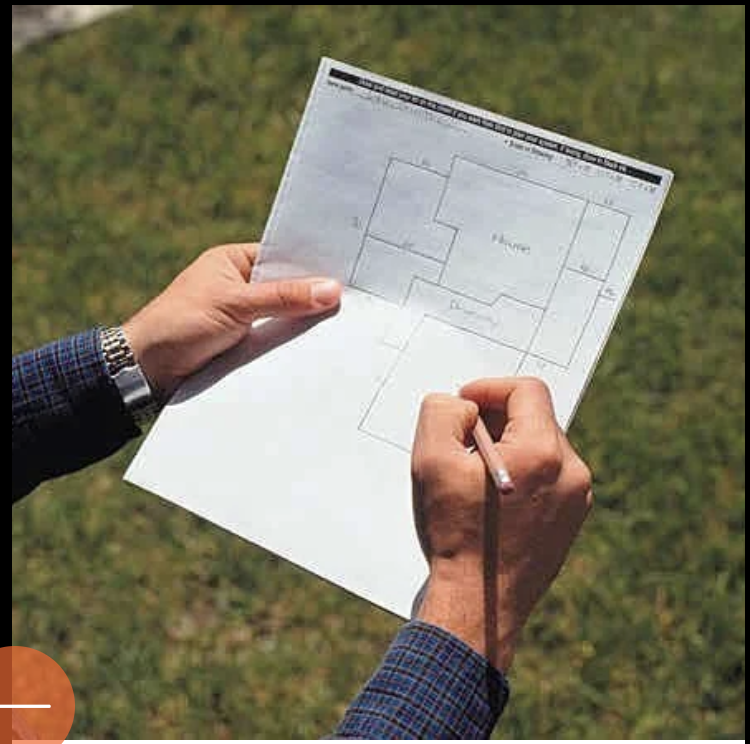
The System Is Designed In The Yard With The Homeowner And Foreman Of The Crew. The Homeowner Is Then Walked Through The Job To Ensure There Are No Surprises While We Mark Out The Site And Measure The System. Depending On The Clients Request: Blue Prints Are Then Drawn Up And Provided To The Homeowner (For An Additional Fee) For Approval Prior To Installation.

Step 1 of 11
DIG SAFE — Sprinkler Plus installation step 2
2

DIG SAFE

After The Yard Is Measured And Blue Prints Approved, We Then Set A Date For Our Team To Begin! We Start By Calling Dig Safe Because It Is The Law! Dig Safe Will Come Out And Mark All Underground Utilities To Prevent Us From Damaging Utilities Or Personal Injury. 1-800-DIG-SAFE Or 811

Step 2 of 11
LET THE WORK BEGIN! — Sprinkler Plus installation step 3
3

LET THE WORK BEGIN!

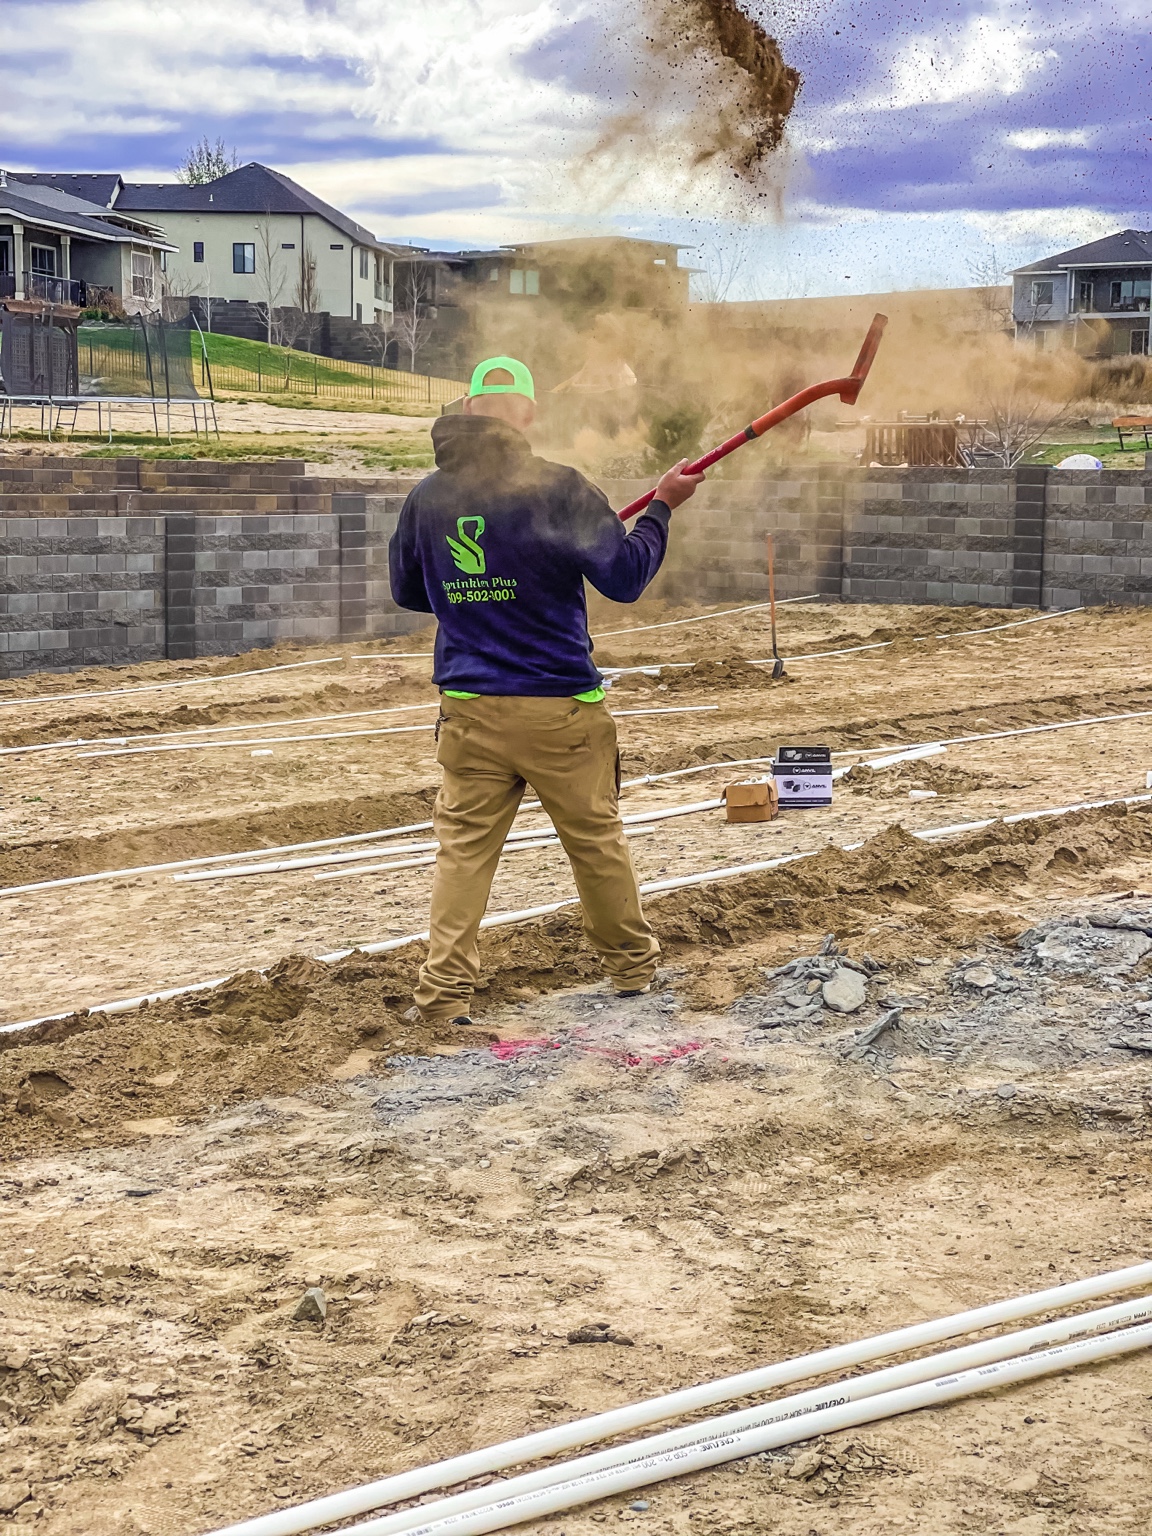
Once All The Utilities Have Been Marked Our Crew Will Begin Digging! We Will Start By Bringing In Our Trencher And Trenching Out Each Line Of Your System. While The Rest Of The Team Digs Out The Trenches And Designated Areas For Your Valve Boxes.

Step 3 of 11
PIPE INSTALLATION — Sprinkler Plus installation step 4
4

PIPE INSTALLATION

Once The System Has Been Trenched And Leveled, Our Team Will Then Come In With All Your System's Parts. Laying Your PVC Pipe And Digging Out The Designated Areas For Each Sprinkler Head.

Step 4 of 11
BACKFLOW HOOKUP — Sprinkler Plus installation step 5
5

BACKFLOW HOOKUP

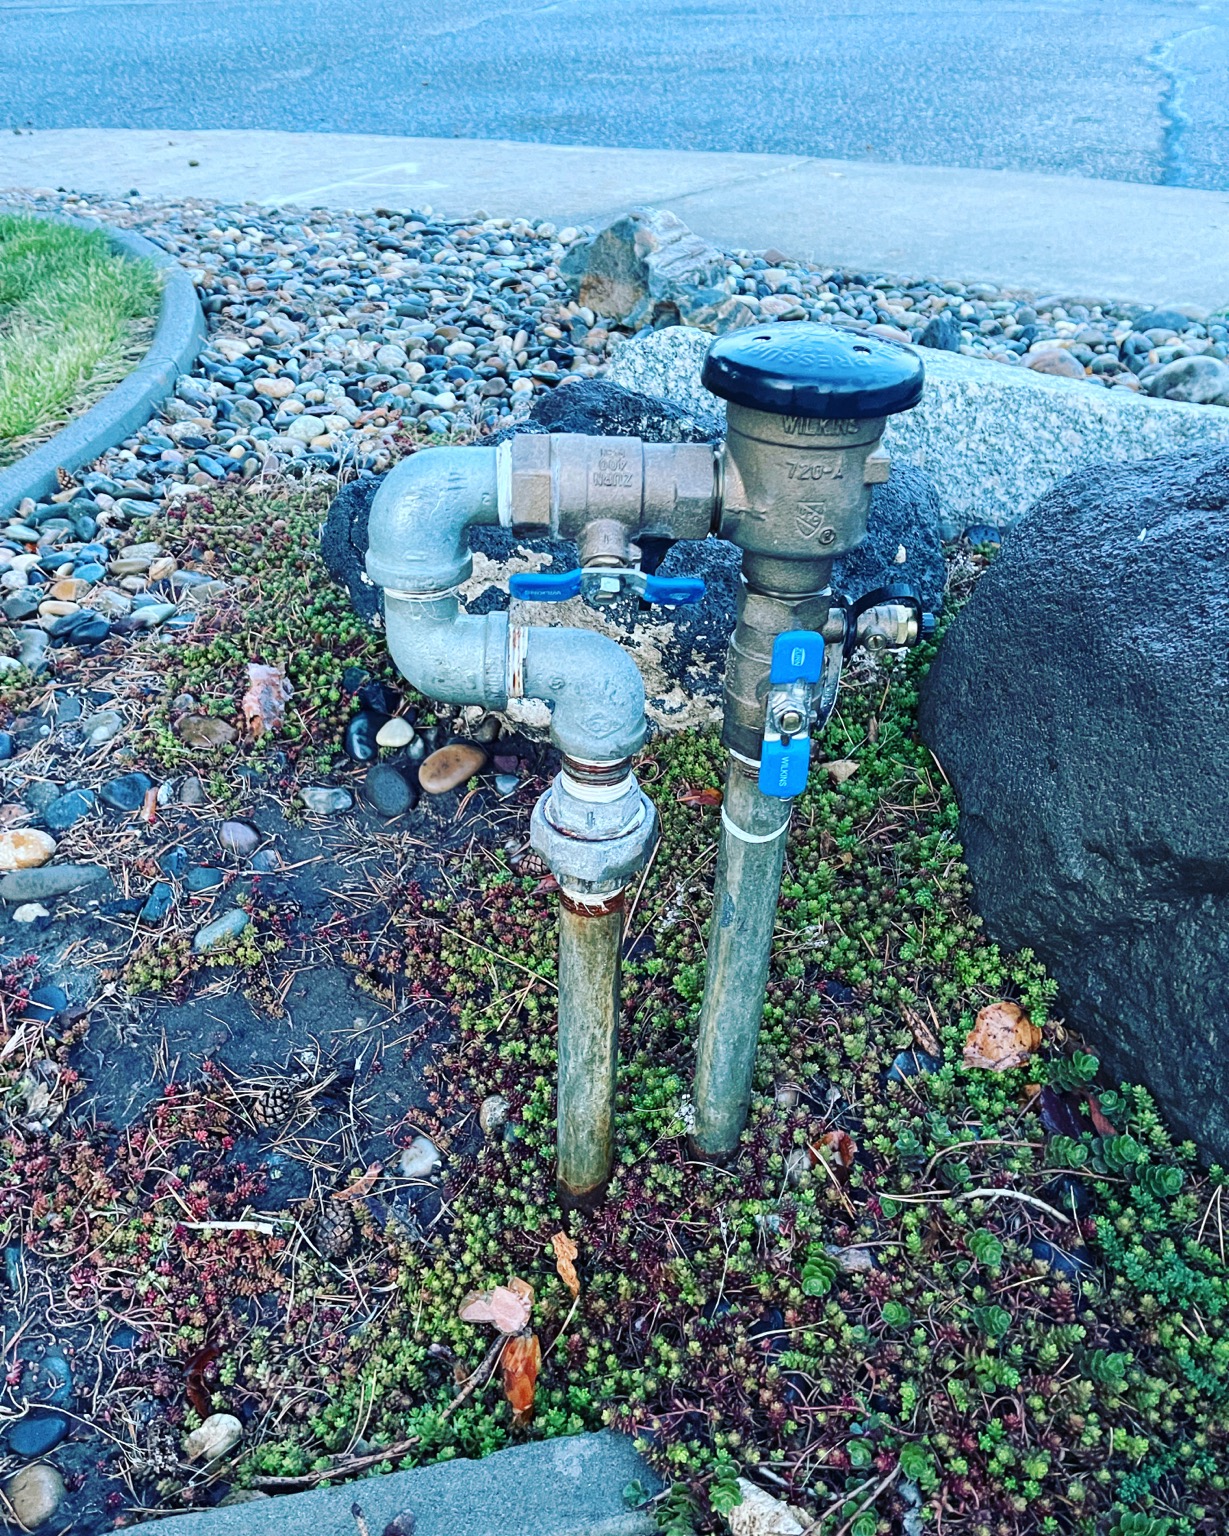
While The Crew Is Busily Installing The Pipe And Digging Your Sprinkler Head Area For Sprinkler Heads. Our Licensed Technician Will Install The Outside Backflow Preventer In Compliance With All State Codes And Hook Up To Your Water Main System.

Step 5 of 11
SPRINKLER HEADS — Sprinkler Plus installation step 6
6

SPRINKLER HEADS

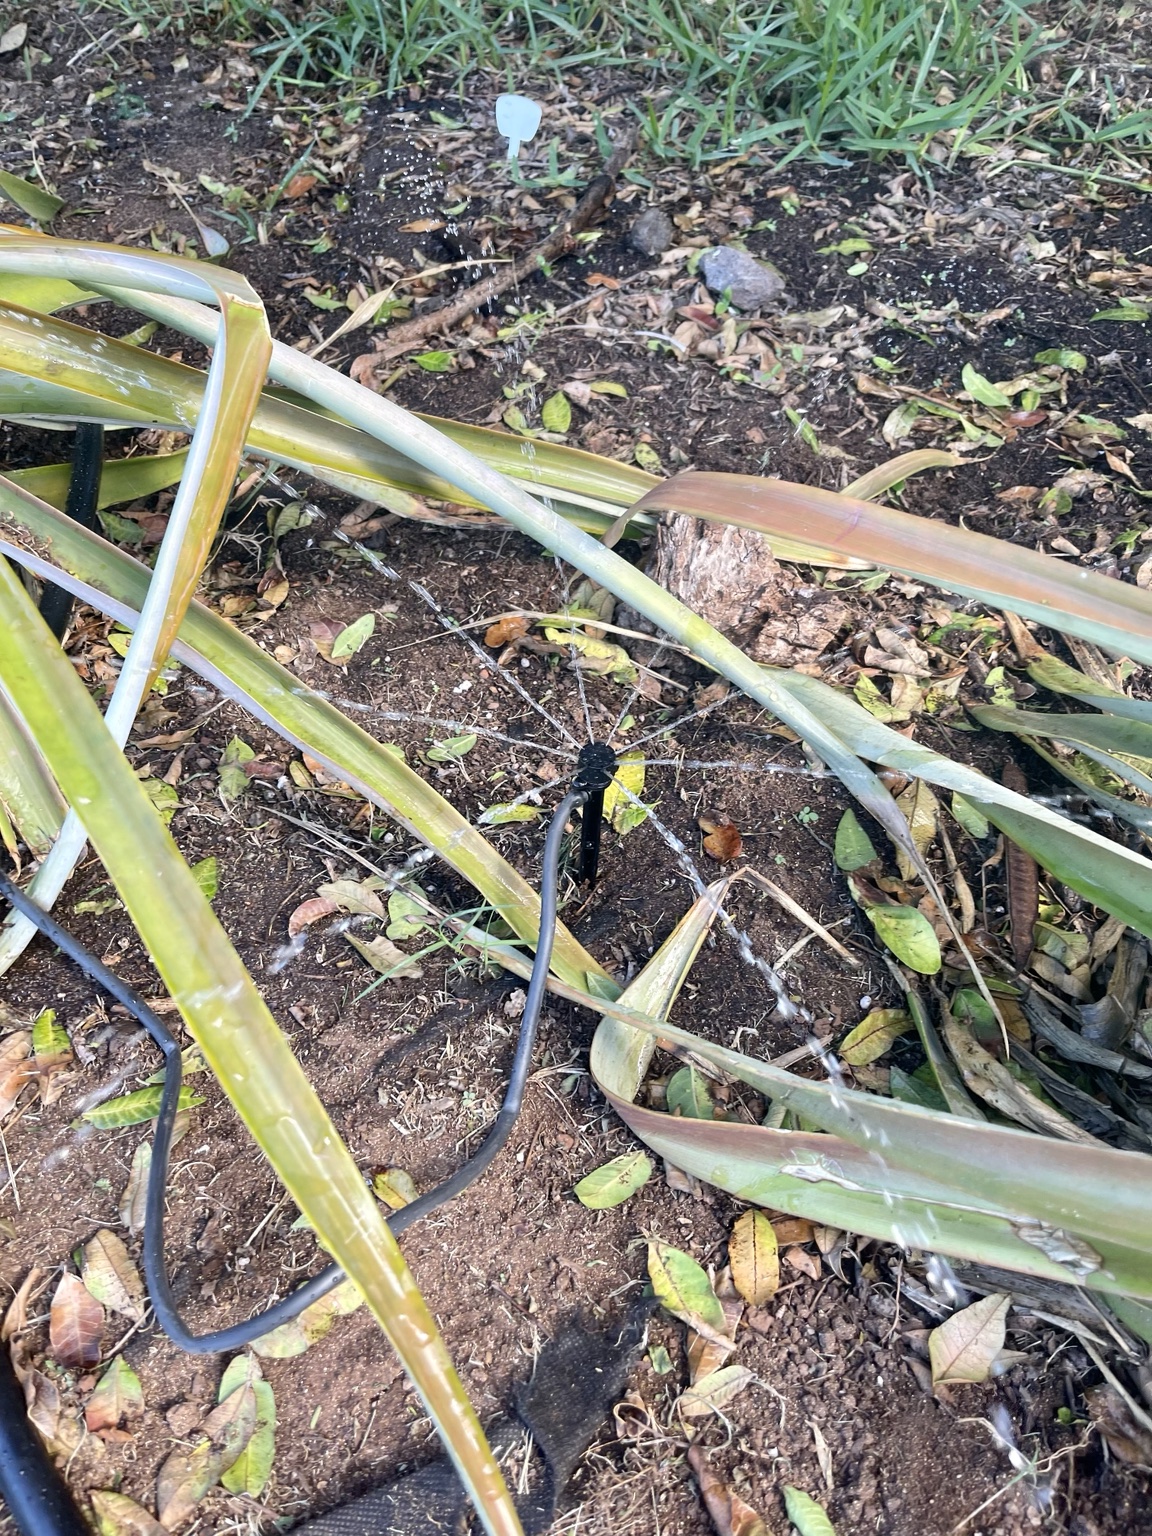
The Heads Are Installed With Care. They Are Installed Flush With The Grade Of The Loam Below The Turf. Heads Are Pre-Adjusted And Backfilled.

Step 6 of 11
VALVES & WIRING — Sprinkler Plus installation step 7
7

VALVES & WIRING

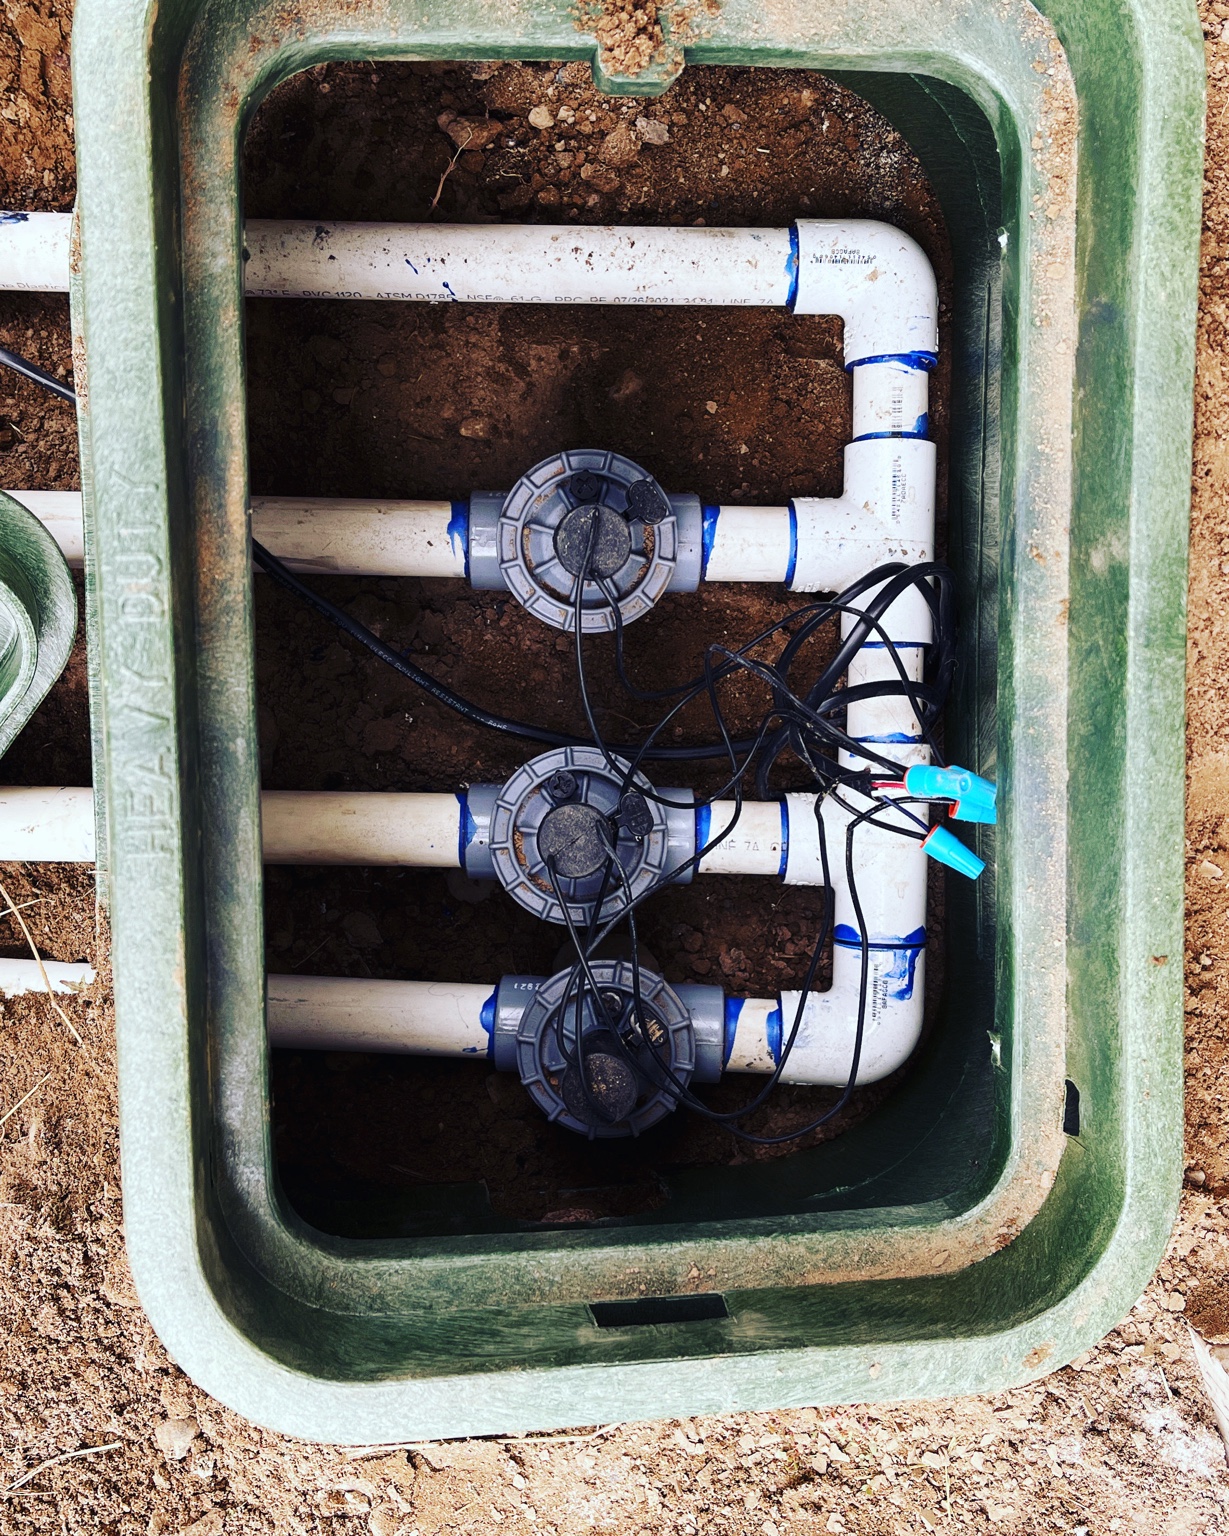
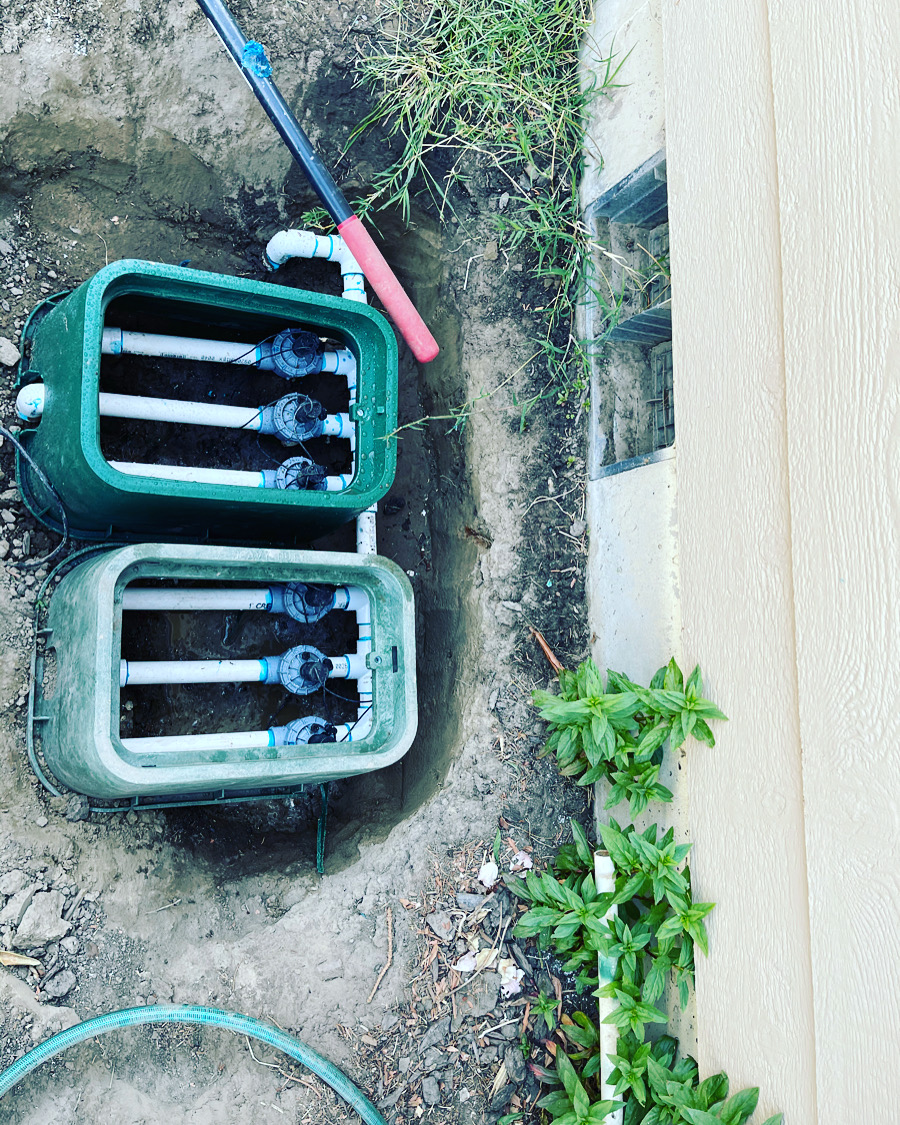
The Valves Are Installed In And Covered With Standard Valve Boxes, Unless Otherwise Requested, At A Location Of The Homeowner's Discretion. We Make Sure We Put These Boxes In Spots That Are Both Easy To Locate And Easy To Hide. Once The Valves Are Connected And The System Tested They Are Wired. The Wiring Is Low Voltage And No Permit Or Electrician Is Needed.

Step 7 of 11
TIMER — Sprinkler Plus installation step 8
8

TIMER

The Timer Is The Brain Of The System. Without A Good Timer The System Can't Save You Money Or Our Natural Resources. We Install The Timer At The Location The Homeowner Requests. We Always Recommend Placing The Timer Where It Is Convenient For You To Monitor And Adjust.

Step 8 of 11
CLEAN UP — Sprinkler Plus installation step 9
9

CLEAN UP

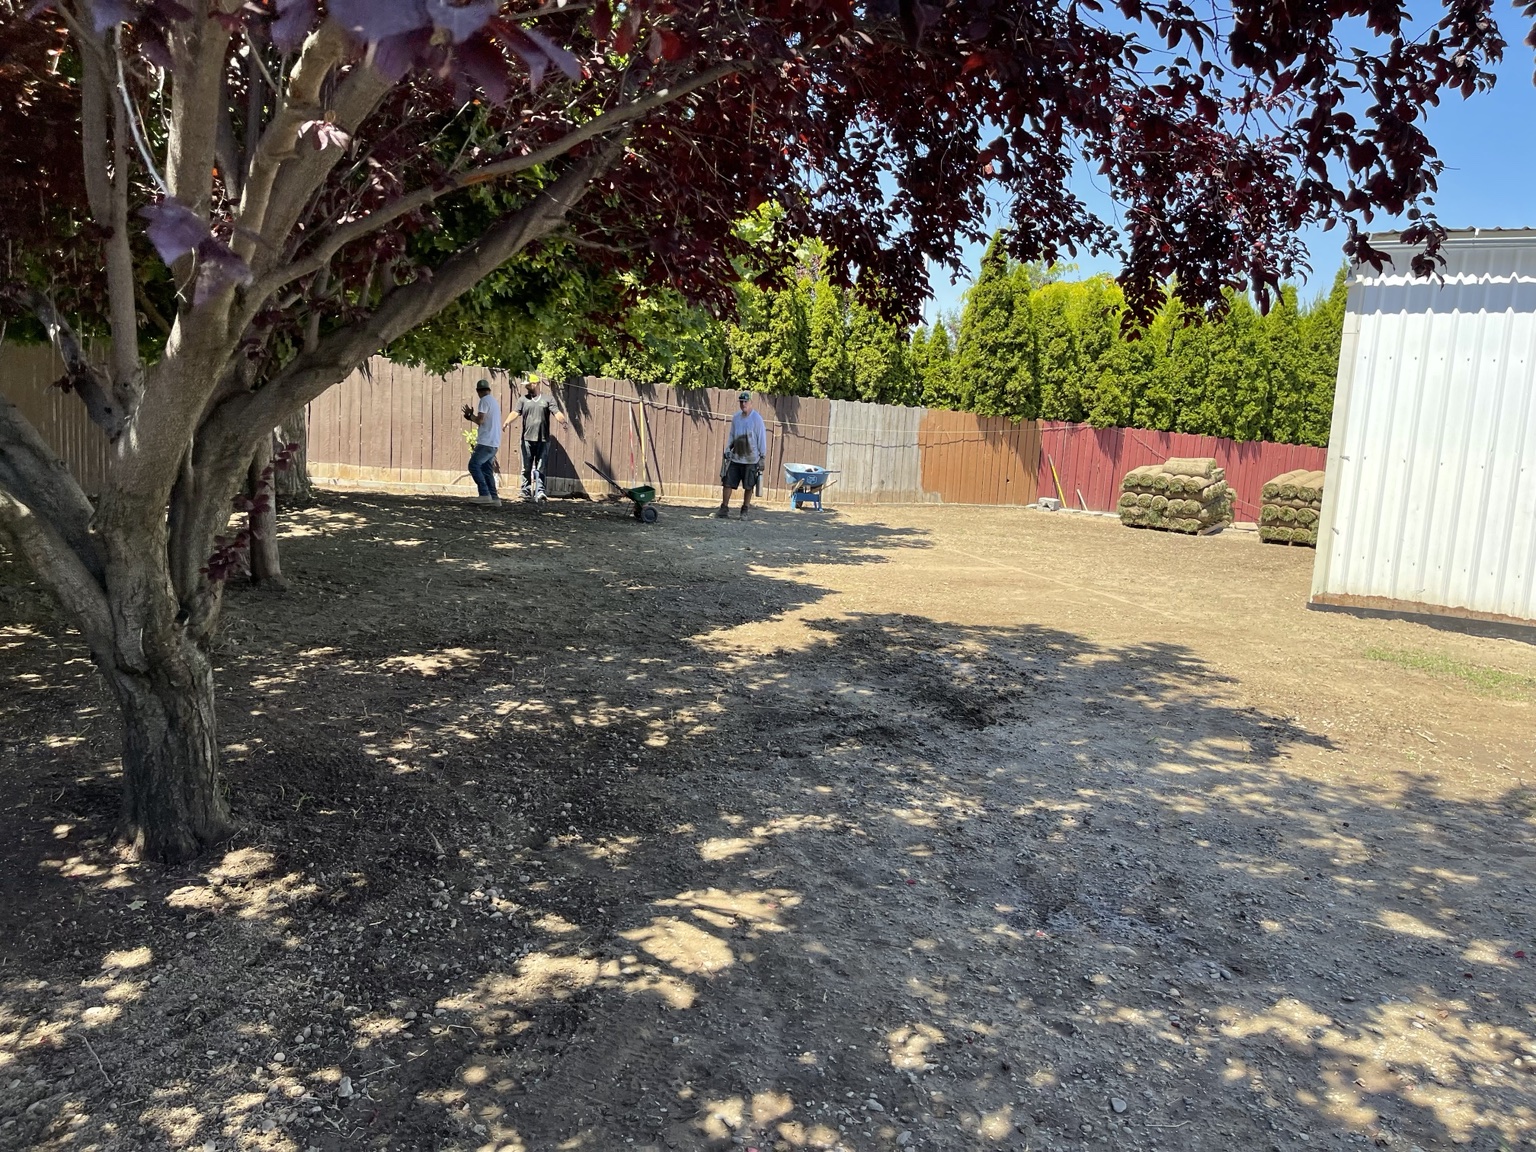
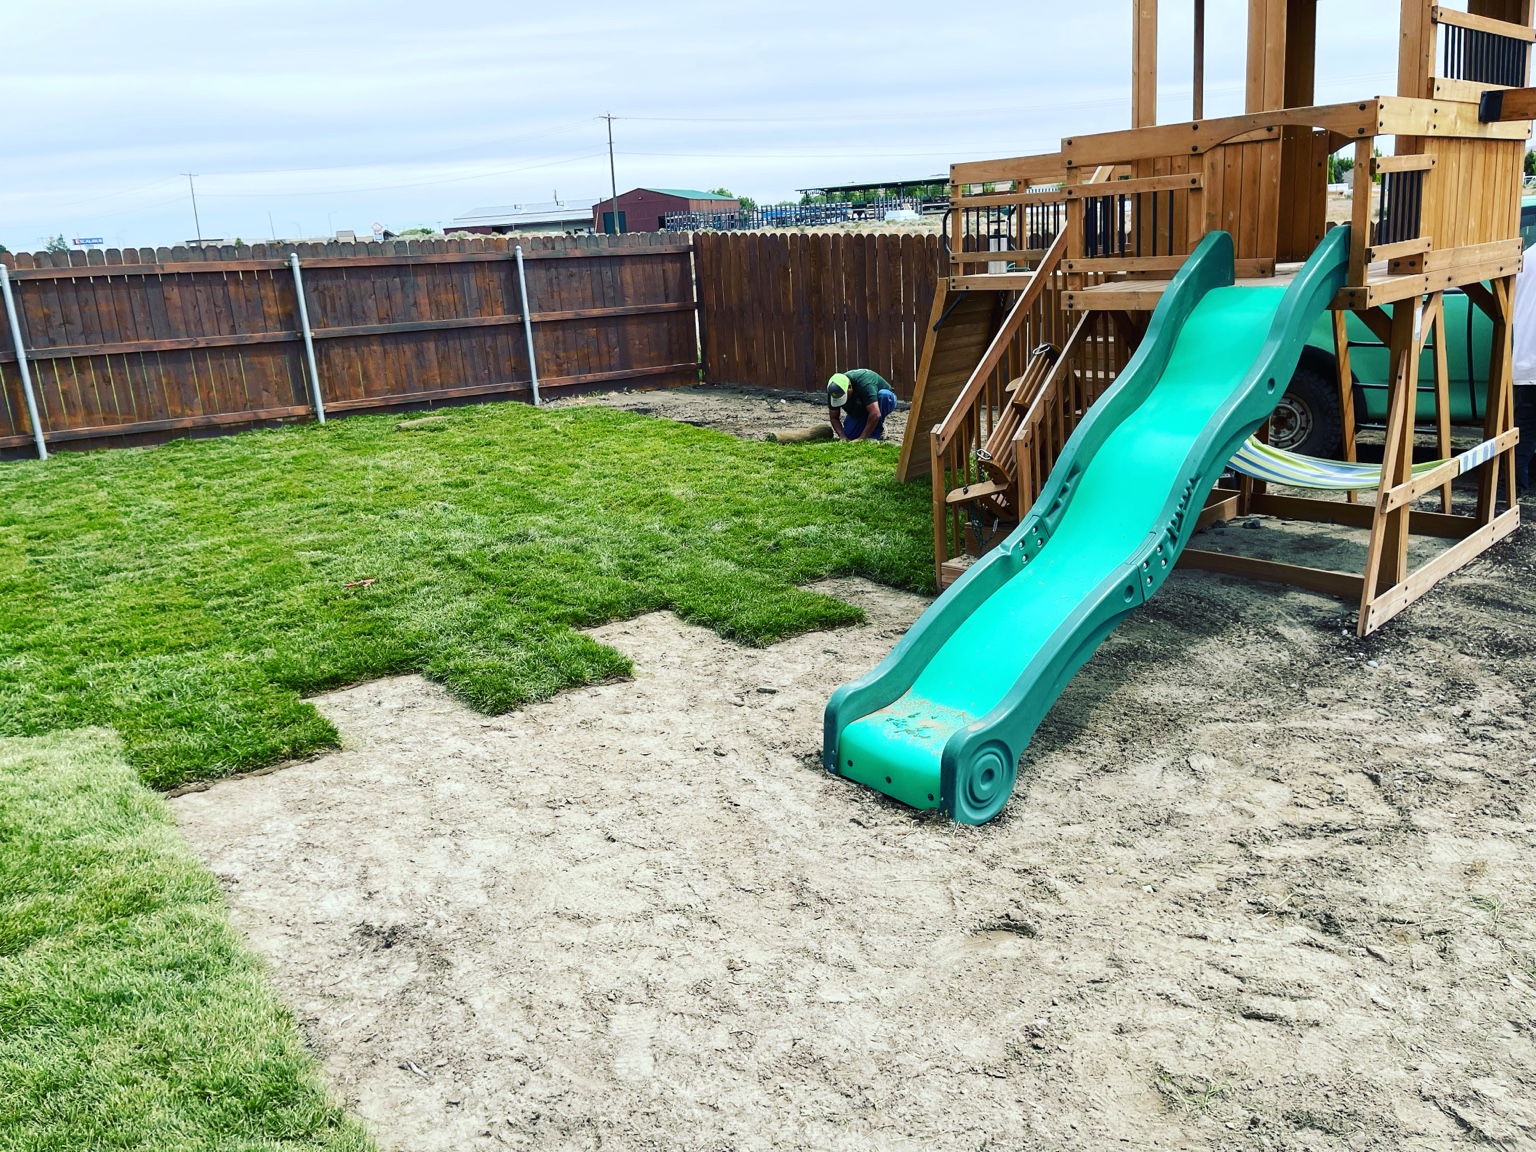
Clean Up Is What The Customer Will Notice The Most. Since Most Of What We Do Is Underground, Some Customers Only Care About How Their Yard Looks When We Are Done. We Make The Yard Look As Good As The System Performs. We Rake, Tamp, Sweep And Clean Up As If It Was A Separate Job We Were Hired To Do. There Is Always Some Settling Of The Soil, So We Can't Guarantee Your Yard Will Look Exactly The Same Afterward — But We Can Guarantee It Will Recover Quickly.

Step 9 of 11
ADJUSTMENTS — Sprinkler Plus installation step 10
10

ADJUSTMENTS

Once The System Is Charged And Checked For Leaks, We Begin Adjustments. We Attend To Each Head To Make Sure It Is Not Leaking And That It Is Adjusted Perfectly. The Timer Is Adjusted To The Season, Which Dictates The Duration And Frequency Of Watering.

Step 10 of 11
COMPLETION — Sprinkler Plus installation step 11
11

COMPLETION

This Is Where You Come In! You'll Get A Lesson On The Basics Of Your New System. The Timer Has Instructions, But We'll Walk You Through It The First Time And We're Only A Phone Call Away For Any Questions. We Then Walk Through The Yard And Show You How To Adjust The Heads And Explain The Rest Of The System's Components.

Step 11 of 11
Ready When You Are

Start with a free on-site design walkthrough

Book a New System Install / Revamp Quote and we'll walk your yard, measure the system, and get you a full quote within 5 business days.

Sprinkler Plus

Family-owned since 2015. Serving Kennewick, Pasco, Richland & the greater Tri-Cities with irrigation, landscape, sod, and arborist services.

Quick Links

Contact

Hours

  • Mon – Fri · 7:00am – 6:00pm
  • Sat · By appointment
  • Sun · Closed

WA Contractor's License # SPRINPL793LB · Licensed, bonded & insured

© 2026 Sprinkler Plus, LLC. All rights reserved.